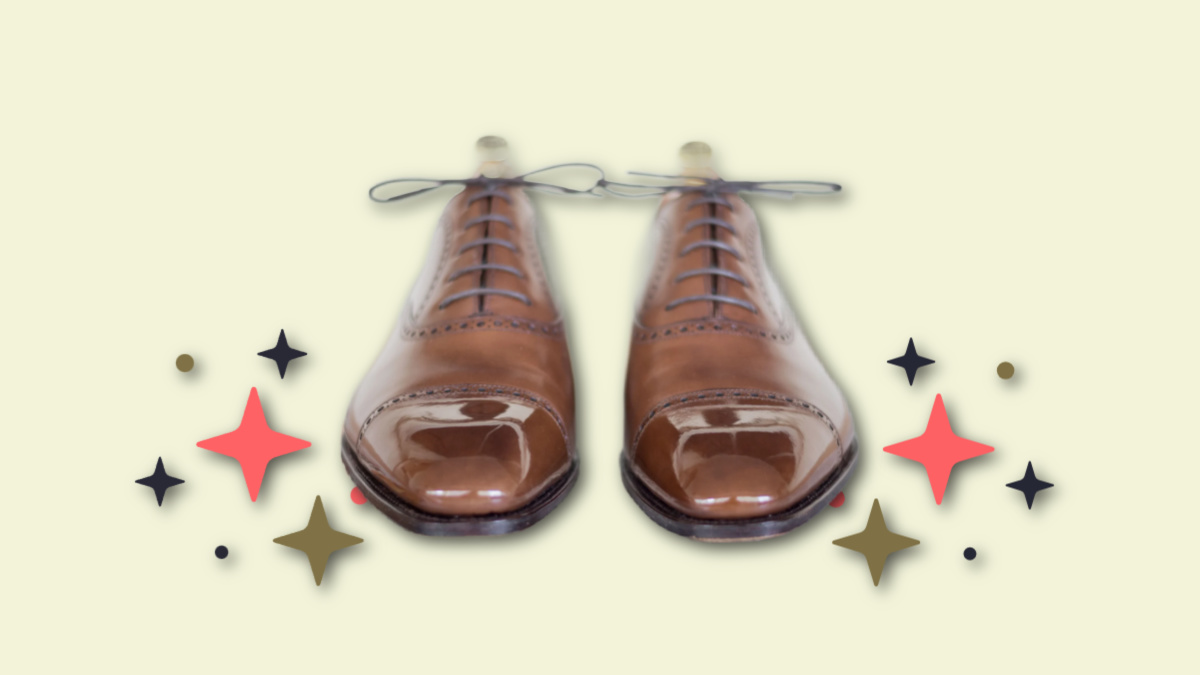
To spit-shine your shoes for a mirror finish, make sure they’re already clean. Dry brush any excess dirt off. Wrap a cloth around your fingers, dab them in polish, then a small amount of water, and apply to your shoe in small circles. Apply several layers. Finish off by gently brushing polish onto the newly shiny surface.
Spit-shining. Sounds like something you want absolutely nothing to do with, doesn’t it?
However, if you want your shoes to look their best, you may change your tune. Luckily, spit-shining doesn’t involve what the name implies.
We call it that because of how ever-resourceful soldiers used to actually use spittle and a toothbrush to shine the front part of their boots.
Today, it’s a process that involves using layers of polish to create a beautiful mirror finish, also known as a glaçage, on your shoes.
Now, I’m going to tell you how it’s done.
Table of Contents
What You’ll Need to Spit-shine Your Shoes
- Shoe polish
- A bowl of water
- Soft cloths
- Shoe brush (we recommend horse hair)
- Toothbrush
Spit Shining: Step-by-step Instructions
Step 1: Prep Your Shoes
Spit-shining is a post-cleaning treatment for aesthetic purposes focused on the front toe area of the shoe.
You’re better off doing it after cleaning and waxing your shoes. If you’ve done both of these recently, say in the past week, and the shoes aren’t particularly dirty, just take some dry brushes to it.
Use the horse hair brush to gently clean the shoe’s surface, removing any loose dirt and debris. Use the toothbrush to get into any cracks, seams, and other tight spaces like broguing if applicable.
I also like to clap my shoes together at the soles, and finish off by wiping the surface off with a clean, dry cloth.
Step 2: Wrap the Cloth Around Your Fingers
Wrap the cloth around your index finger and middle finger, and take the leftover drape and twist it to tighten the cloth around your fingers.
If there’s a lot of twisted slack, wrap it over the top of your hand, over to the pinky-finger side of your palm. Place it in your palm, and grab it with your thumb, ring finger, and pinky finger.
If there’s not a lot of twisted slack, just take the slack over the top of your hand and between your index finger and thumb, then grab it from there, again, with your leftover fingers.
You’re now holding up a victory sign (or a peace sign). Except the two fingers you’re holding up are snugly wrapped in cloth and flush against each other. You do this to secure the cloth on your fingers and so the slack isn’t swinging around and getting polish where it doesn’t belong.
Step 3: Dip Your Cloth in Polish
Remember, you can only spit-shine the front part of the shoe, not the parts that bend. So, if you have a cap toe oxford, keep the treatment within the cap. Don’t go beyond the cap stitching.
Part of this is because you don’t want polish build-up in the creases. It’ll just result in unattractive residue. The other part is that the extra shiny shoe front is simply part of the traditional spit-shine aesthetic.
Now, take two fingers and gently rub over the polish. You only want to use a little bit at a time. Less is more during these steps.
Then, ever so slightly, dab your fingertips on the water in the bowl. Yes, on the water, not in. You don’t want any submersion here.
Step 4: Apply Polish To Your Shoe, Shine, and Repeat as Needed
Now, work your cloth-covered fingers around the front of the shoe’s surface in small circles.
Keep doing this until the polish is set, dry, and evenly coated throughout. This initial layer won’t be enough to get that mirror finish. In fact, since we’re using so little polish and water, this may not have made much of a difference at all.
That’s okay. Each layer you add will compound on the last. This is going to take time.
To prime it for the next layer, I like to give it a quick touch of hot breath, the same thing you do to your sunglasses when wiping fingerprints off them.
You’ll then do it all over again, dipping your clothed fingers in the polish, then the water, and making small circles on the shoe’s surface.
Again, you can’t rush this. If you add too much water or polish, you’ll ruin the effect and possibly rub off all of the layers you just set. These layers are the key to the mirror shine; otherwise, the excess polish will slip and slide over the surface.
This entire process, especially since you want to ensure each layer has dried and set, will take about ten coats and a good half an hour.
Step 5: Brush Your Shoe
Once you have enough layers to achieve the glaçage, and once it’s dry and set, you’ll finish it off with a few brushes. It’s important that you wait until the layers are perfectly dry, or you might dismantle them.
This is similar to how you would buff your boots after conditioning them.
Dip your brush into the polish, then dab it throughout the newly shiny front of the shoe. Then, sweep the brush over that area lightly but swiftly.
Spit-Shine to Perfection
I know that getting the shine on there is a bit of a process. However, with just a little maintenance, you can easily keep the glaçage alive and well.
Make sure you brush your shoes down after wear. Whenever you have a minute or two, add another layer of polish and water here and there.
Try doing a quick polish once a week, and you’ll be good to go.
FAQs
Can you shine shoes with spit?
Actually, a little bit of spit won’t hurt your leather. Still, you might want to stick to actual shoe polish and water since the polish is made precisely for shining shoes.
Why do people spit-shine shoes?
Spit shining gives the shoe a mirror-like finish, and it’s petty easy to do. People who love a high-shine aesthetic use spit-shining to achieve this.
Does spit shining work?
Yes, if you’re patient and use thin, gradual layers of polish and water, spit-shining provides an extra glossy finish to the fronts of your shoes.


Join the Discussion