To quickly break in your Converse sneakers, stuff them with socks then tie the laces tightly. Leave them like this overnight or for a whole day. You can also put a plastic bag over each socked foot before putting your Converses on, then walk around the house. Finally, you can carefully, and quickly, take a hairdryer to your shoes before walking around in them.
Six weeks is a long time.
You know what else six weeks is? About how long it takes to break in a pair of Converse Chuck Taylors.
It’s that vulcanized rubber. It adds durability in the long run, but if you’re an instant gratification kind of guy like I am, that six weeks can be grueling—and painful.
I’ve tried every shortcut in and out of the book. Fortunately for you, and unfortunately for several pairs of Chucks that didn’t survive what I subjected them to, I know which ones work and which ones don’t.
Here are three hacks to break in your Converse shoes that can cut down that duration time by half. Yes, you’re looking at a three-week, or possibly less, break-in period.
Table of Contents
Do Converse Stretch?
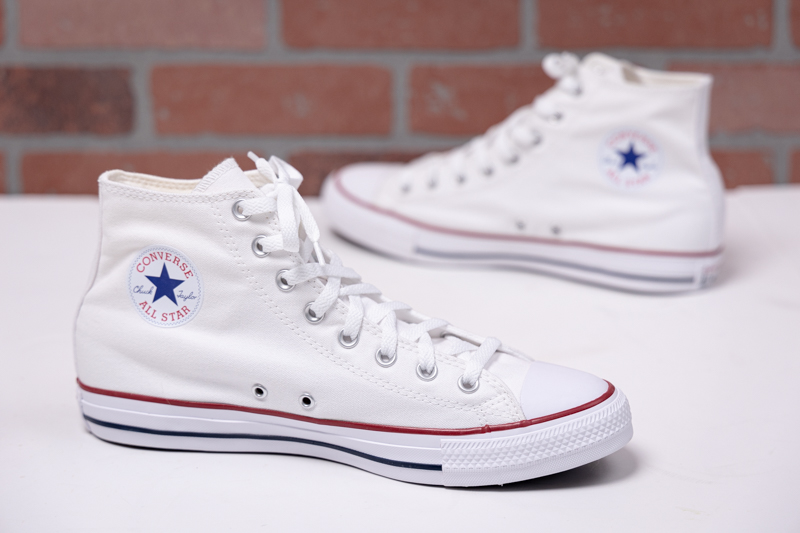
Converse shoes do indeed stretch a little, though the rubber around the base keeps them from overextending. Keep in mind that they’re made out of canvas, a strong, plain-weave fabric that’s also used for tents and as a surface for painting.
Canvas is meant to stretch gradually and delicately. Again, this is why it takes a good month to six weeks to break in a pair of Chucks.
So while Converse shoes might not be perfectly comfortable at first, rest assured, they’ll get there eventually. Just remember that they tend to run half a size large.
The Chuck Taylor All Star Classic is just that: a classic! It’s stylish, solid, and comfortable, and pretty iconic. I love my pair, and I wear them often. The quality is good, considering the price, but the main reason to get these sneakers is for the style.
How to Break In Converse
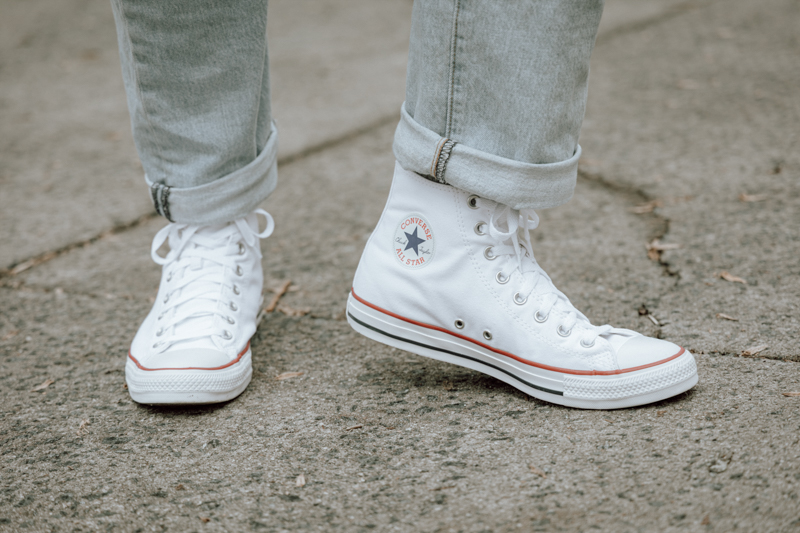
What You’ll Need to Break in Converse
Here’s what you’ll need to pull off these break-in hacks:
- A bunch of socks for stuffing
- Extra shoe laces or cotton twine
- At least two plastic bags
- A hair-dryer
- Thick socks to wear
- Adhesive bandages
1. Stuff Your Converse with Socks
This method is the least hands-on. It’s essentially a set-it-and-forget it technique, and the longer you set it, the better. It’s also the home remedy answer to actually buying and using a shoe stretcher.
The first thing you’re going to do is roll up your socks and stuff each shoe tightly.
Make sure to take one perfectly balled up sock per shoe, and stick it into the toe area. The rubber toe cap is the most stubborn part of the shoe. You want as little air in there as possible.
Then, as you’re stuffing the rest of the shoe, push into and against that initial balled-up sock as much as you can.
Tie up the laces, also as tightly as possible. You want the laces to push as hard into the surface as the socks are pushing up into the interior.
This part is optional, but you can even take extra laces or cotton twine and wrap it around the upper of the Converses to add more pressure.
Leave it like this at least overnight, but if you can, up to a whole day or more.
It might not be fully broken in after a day, but they’ll be noticeably more comfortable. The more you do this during the break-in period, the shorter it’ll be.
2. The Plastic Bag Method
This method is one of my favorites, partly because it’s so weird, and partly because, unlike so many break-in methods making its way around the internet, I’ve found it to work quite well.
Depending on how much shame you have, this is mostly an indoor technique.
Take a plastic bag, and put it over your sock. Do this with both feet, before putting each Converse shoe on.
Walk around the house in them throughout the day. It will feel a bit strange at first since the bag will, and is supposed to, move around as you walk. Don’t worry, even though the plastic is slipping and sliding, it won’t cause you to. This is perfectly safe.
Basically, the movement and constantly shifting topography of the bag is massaging the interior of the shoe. This delicately stretches and softens the shoe from within, while also creating a forcefield between your feet and the still stiff canvas. This means no abrasion on your skin and no blisters either.
Do this for a few days, also taking time to walk around without the bags for a few minutes to check the progress.
As mentioned, you might want to do this in the privacy of your own home. However, if you’re breaking in high-tops, the bags will remain mostly inconspicuous.
I’ve found this method to cut the break-in duration by at least half. In fact, after a few days of doing it, I’ve gotten my shoes to feel decently wearable, as long as they weren’t all-day pub crawls or anything like that.
3. The Traditional Way Plus a Hair Dryer
I might get some flack for suggesting you take a hair dryer to your shoes, but hear me out.
As long as you keep the setting to low, and as long as you aren’t exposing the shoe to the heat for more than a few minutes at a time, this can be a pretty safe bet.
So first, you’re going to take one of the shoes in your hand and just bend it at the sole a few times. You’ll do this by holding the sneaker at the heel with one hand, and at the toe with the other, as you bow the middle of the outsole. You’re almost making a U shape with the shoe, but not going all the way.
Do this again with the other shoe.
Next, you’re going to put on some thick socks. This also helps expand the canvas, but as far as this specific technique goes, it’s to protect your feet from the heat.
An optional step prior to this is covering your pinkie toes and back ankles with adhesive bandages to prevent any friction. These are common hotspots. However, you can also wait until you’ve worn your shoes around the house to figure out where your distinct problem areas actually are.
Put each of your shoes on and tie the laces so that they’re secure but not overly tight.
Here’s the tricky part. Be very careful when you do this. Take your hairdryer and turn it on to the lowest setting. Apply the heat to the toe box, the ankle, and the heel.
Don’t heat up one area for more than 45 seconds, and don’t overall blowdry the shoe for more than about three minutes in total per session. Otherwise you run the risk of damaging the rubber or even a fire hazard.
You don’t want to end up throwing a bucket of water onto your Converses.
Anyway, a good two or two and a half minutes should be enough time that the shoe feels pretty warm.
Walk around your house in your warmed-up Converse sneakers until they’ve cooled off. Make sure to bounce around and go up and down some stairs if you have them.
Feel free to do this up to three times a day.
Break Time
Hey, time is money. So who wouldn’t want to spend less time breaking their Converse shoes in, and more time having an easy go-to casual sneaker option.
Remember, stuffing each sneaker with socks, keeping in mind the importance of the toe area, is the best option when it comes to mostly hands-off techniques. The socks and laces are doing the work for you.
If you prefer to be part of the action, then the plastic bag method is an effective, albeit strange, way to go.
Finally, if you have a deft hand and a working stopwatch, don’t be afraid to take a blowdryer to the toe, ankle, and back heel of your shoes.
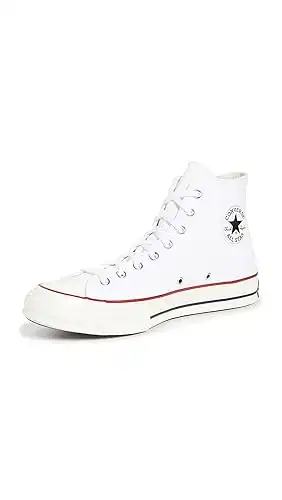
The Chuck Taylor All Star Classic is just that: a classic! It’s stylish, solid, and comfortable, and pretty iconic. I love my pair, and I wear them often. The quality is good, considering the price, but the main reason to get these sneakers is for the style.
FAQs
How long does it take to break in Converse shoes?
It can take up to four to six weeks to break in Converse shoes.
Is there a way to make Converse more comfortable?
Converse shoes will be perfectly comfortable once they’re broken in. If they aren’t perfectly comfortable after four to six weeks, you may not have gotten the proper size. Converse shoes often run half a size large.
How do I stop my converse from rubbing on the back?
Once broken in, any uncomfortable rubbing should cease. Otherwise, you might need a different size or a wide. You can also try using adhesive bandages on hotspots.

Join the Discussion